Categorize Emails with AI: How I Automatically Sorted My Last 47,441 Emails
Breaking the Hamster Wheel: How Evoya Automatically Sorts Your Emails
Categorize Emails with AI: How I Automatically Sorted My Last 47,441 Emails
We All Know the Email Hamster Wheel
Who doesn't know this: Your inbox fills up faster than you can process it, and when you go home in the evening with a clean inbox, it's already full again the next morning and the cycle starts over. Hamster wheel.
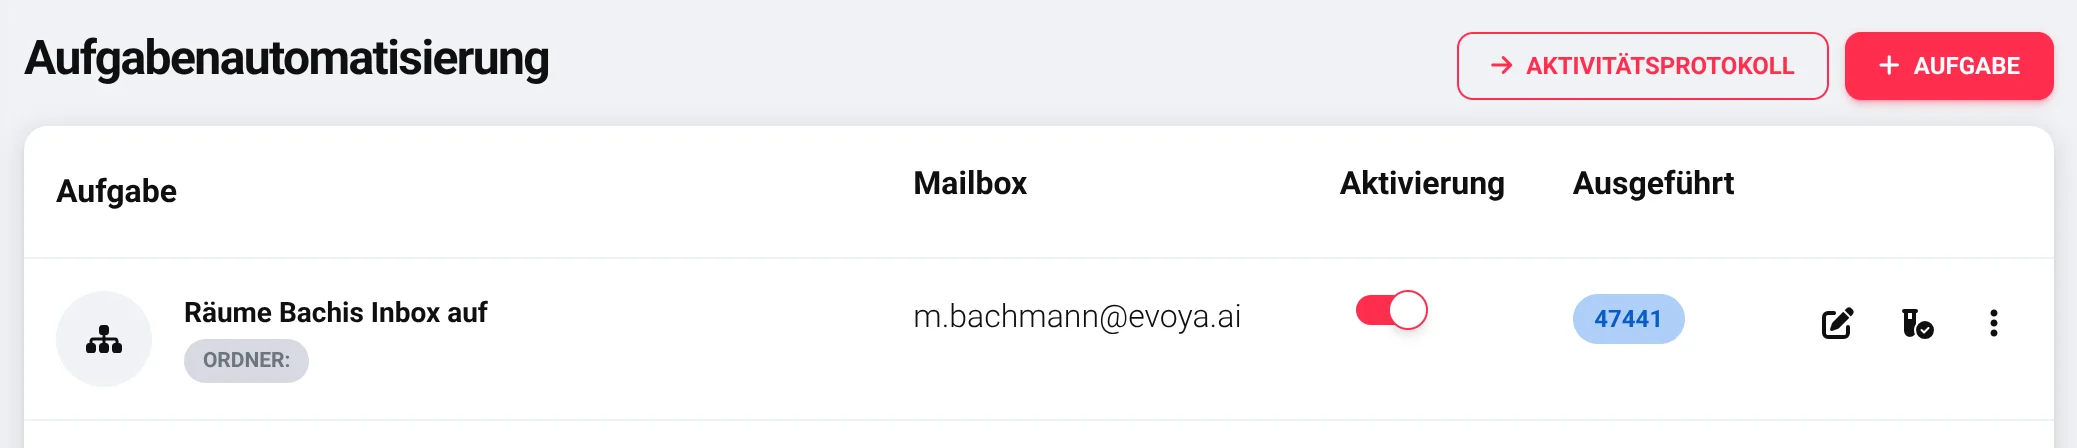
I've solved this problem for myself for about 2 years now: My last 47,441 emails have been cleanly categorized and organized by Evoya - and lo and behold, only a fraction of the emails actually required my attention.
In this blog post, I'll show you how to easily set this up for yourself.
Use Cases for Evoya Email Categorization
Evoya's email features help with various scenarios:
- Clean up your inbox: Categorize emails, address them specifically, and respond efficiently
- Corporate accounts and team mailboxes: Pre-categorization, email triage, prioritization, and escalation management
- Automated mailboxes: Partially or fully automated mailboxes managed by Evoya agents
- Ongoing analysis: Processing incoming emails or existing email collections
This blog post focuses on categorizing emails. Responding, analyzing, and processing will follow in future blog posts.
Step 1: Connect Your Email Account
If you haven't yet connected your email account with Evoya, please first follow Step 1 in our article: How to Teach Evoya Agents to Send Emails
Step 2: Create a New Task
Go to https://avaia.io/app/mailbox/list/ and click the [+ Task] button.
The easiest way is to use the template "Sort my emails". This largely corresponds to my configuration and has proven itself over the past years.
First, define which emails Evoya should process: In the field "Responds to label/folder", enter INBOX if you want all new emails to be categorized. Alternatively, you can restrict processing to a specific folder/label.
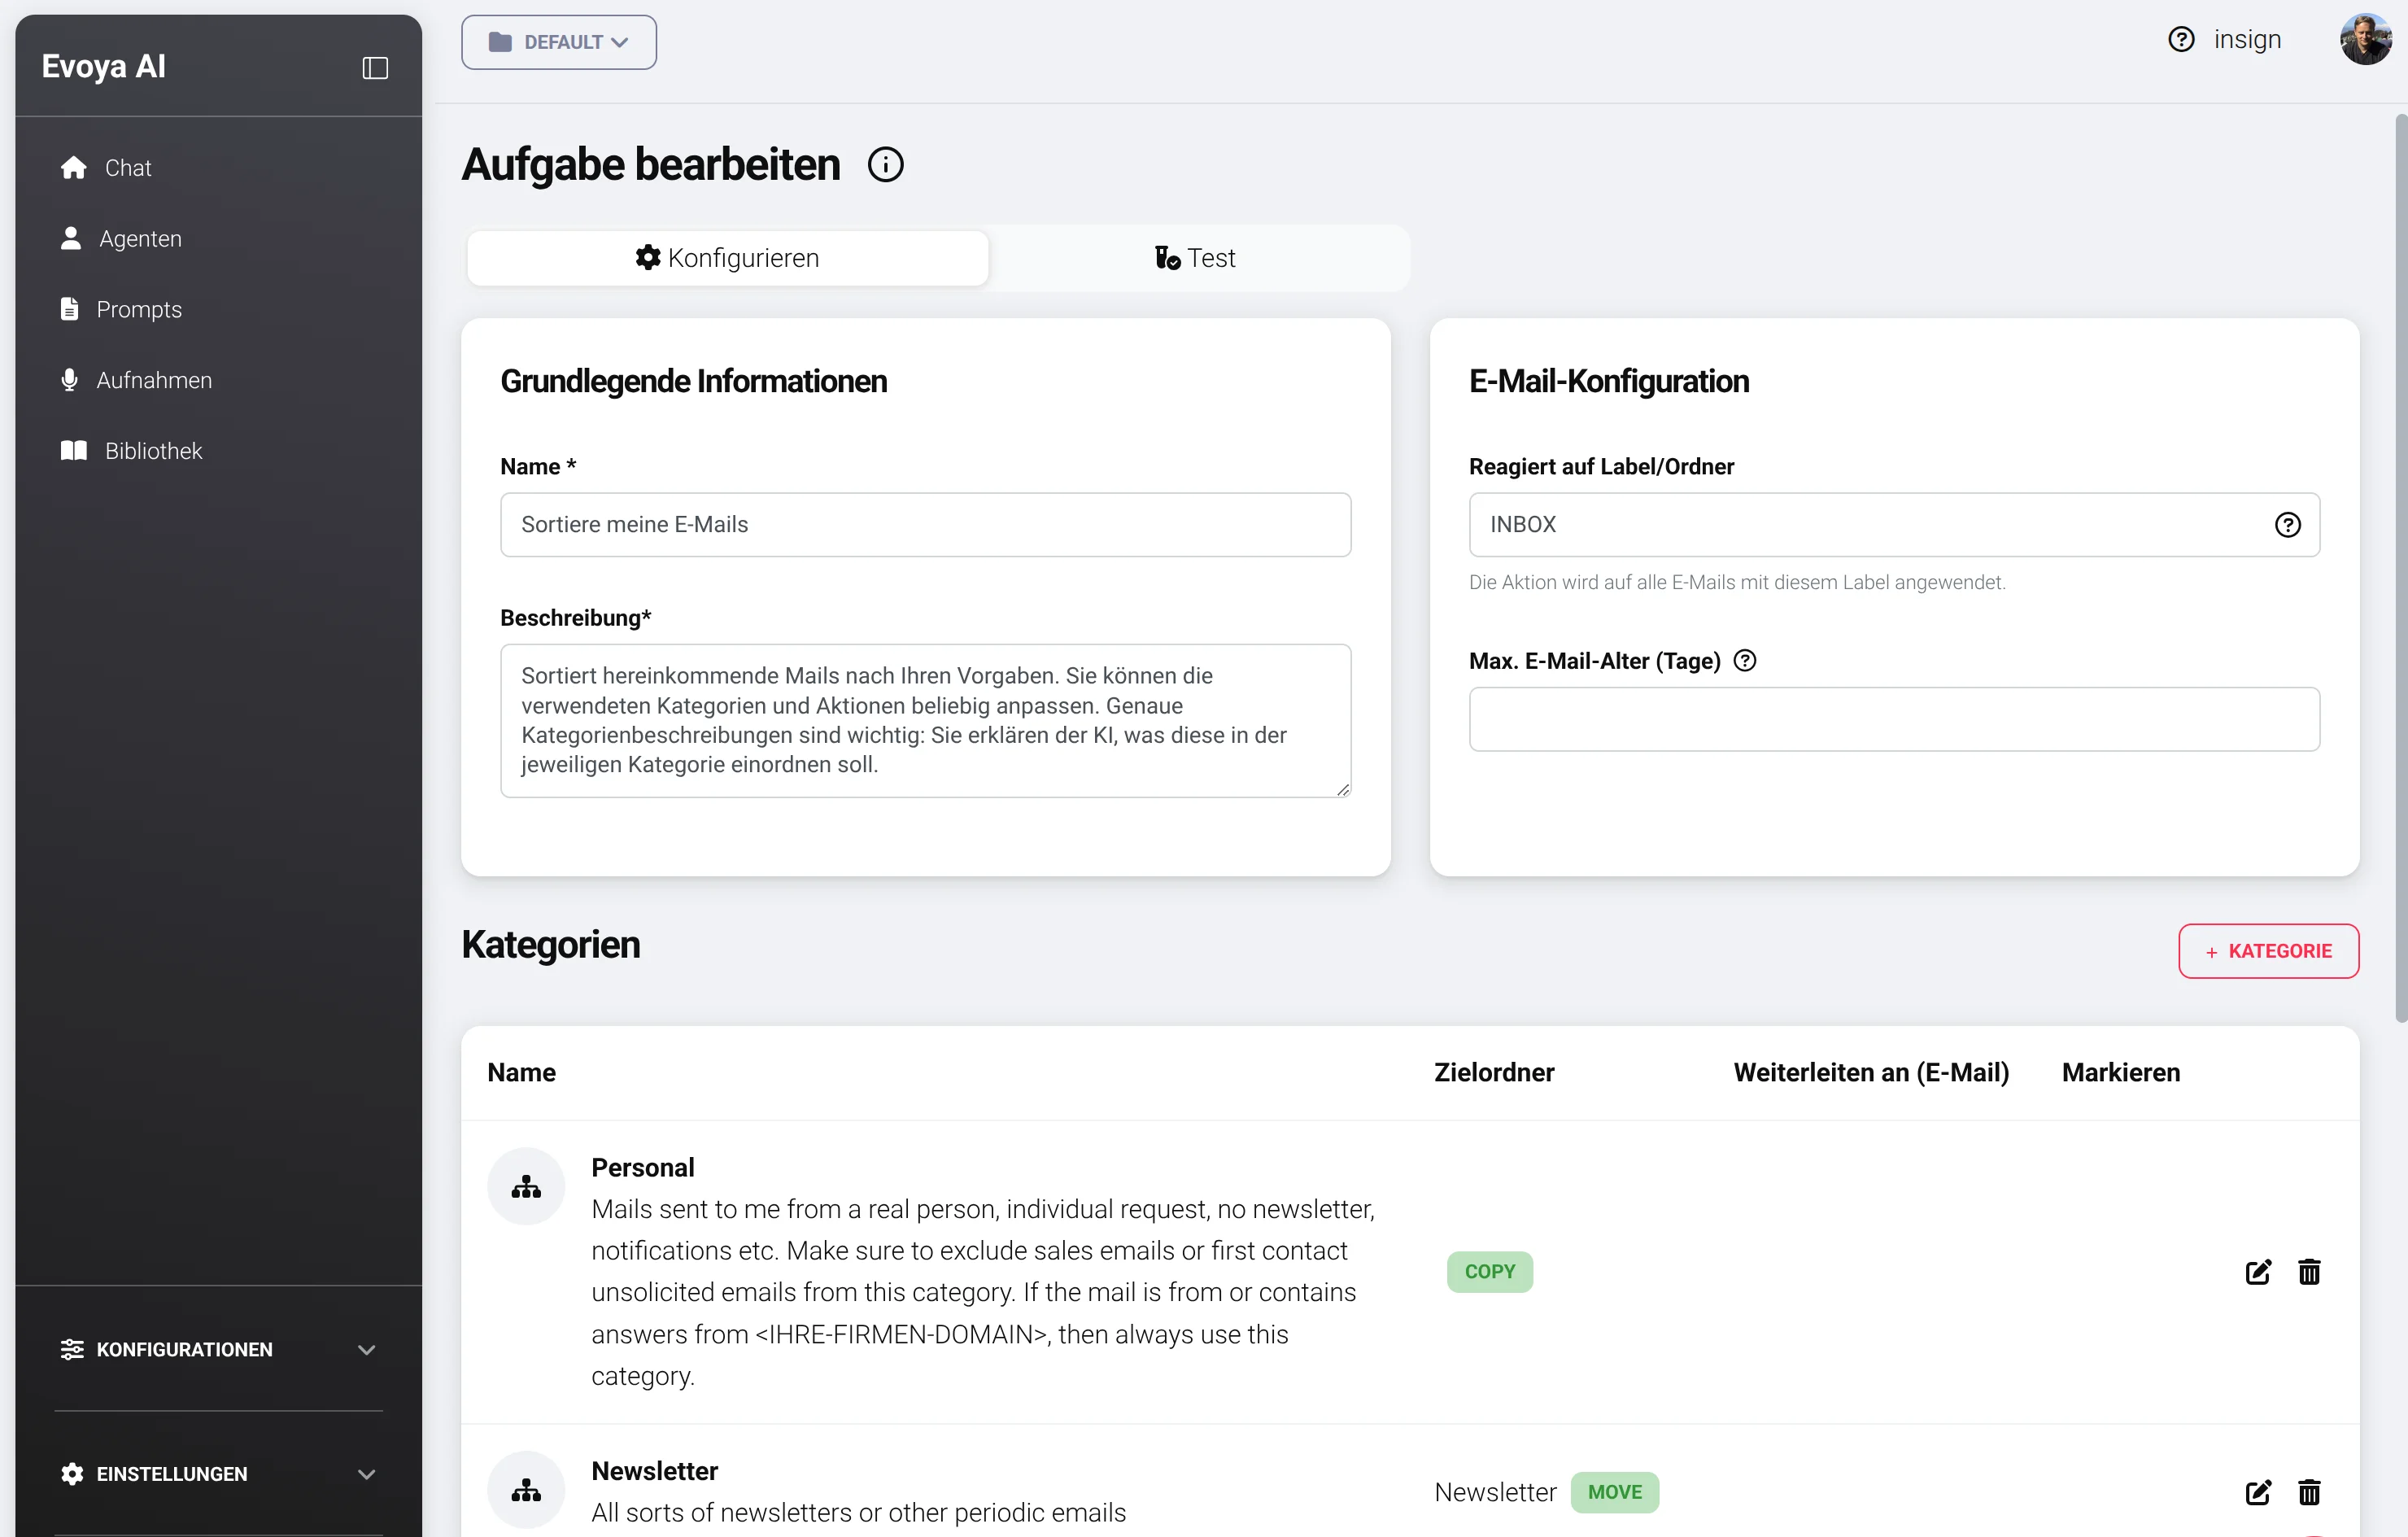
Customize Categories Individually
Now it's important to customize the categories for yourself. The category descriptions tell the AI which emails should go into which category. These descriptions should be continuously adjusted to optimize results. Add your own categories as needed.
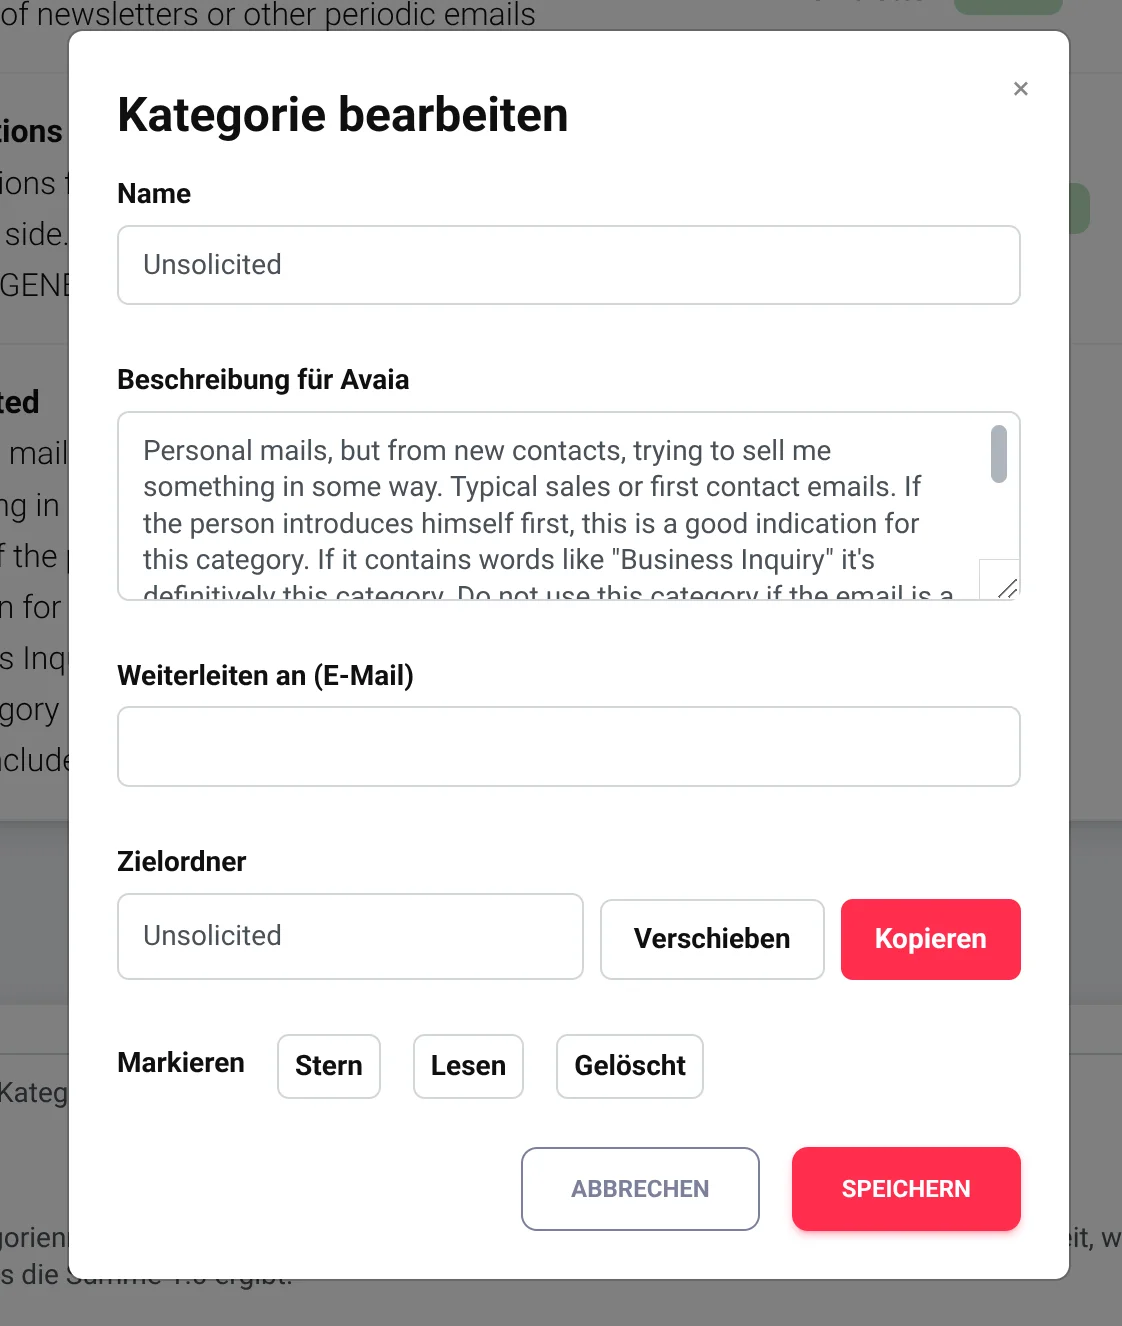
Important: The descriptions sometimes contain placeholders like <YOUR-DOMAIN> – please fill these in.
Step 3: Test
When you're satisfied with the categories and descriptions, you can test them. Simply click "Test" (save changes first if needed), then paste the text content of an email you want to test and click "Start test".
After a few seconds, the category assessment will be displayed with probabilities (maximum 3 – the one with the highest probability will always be chosen).
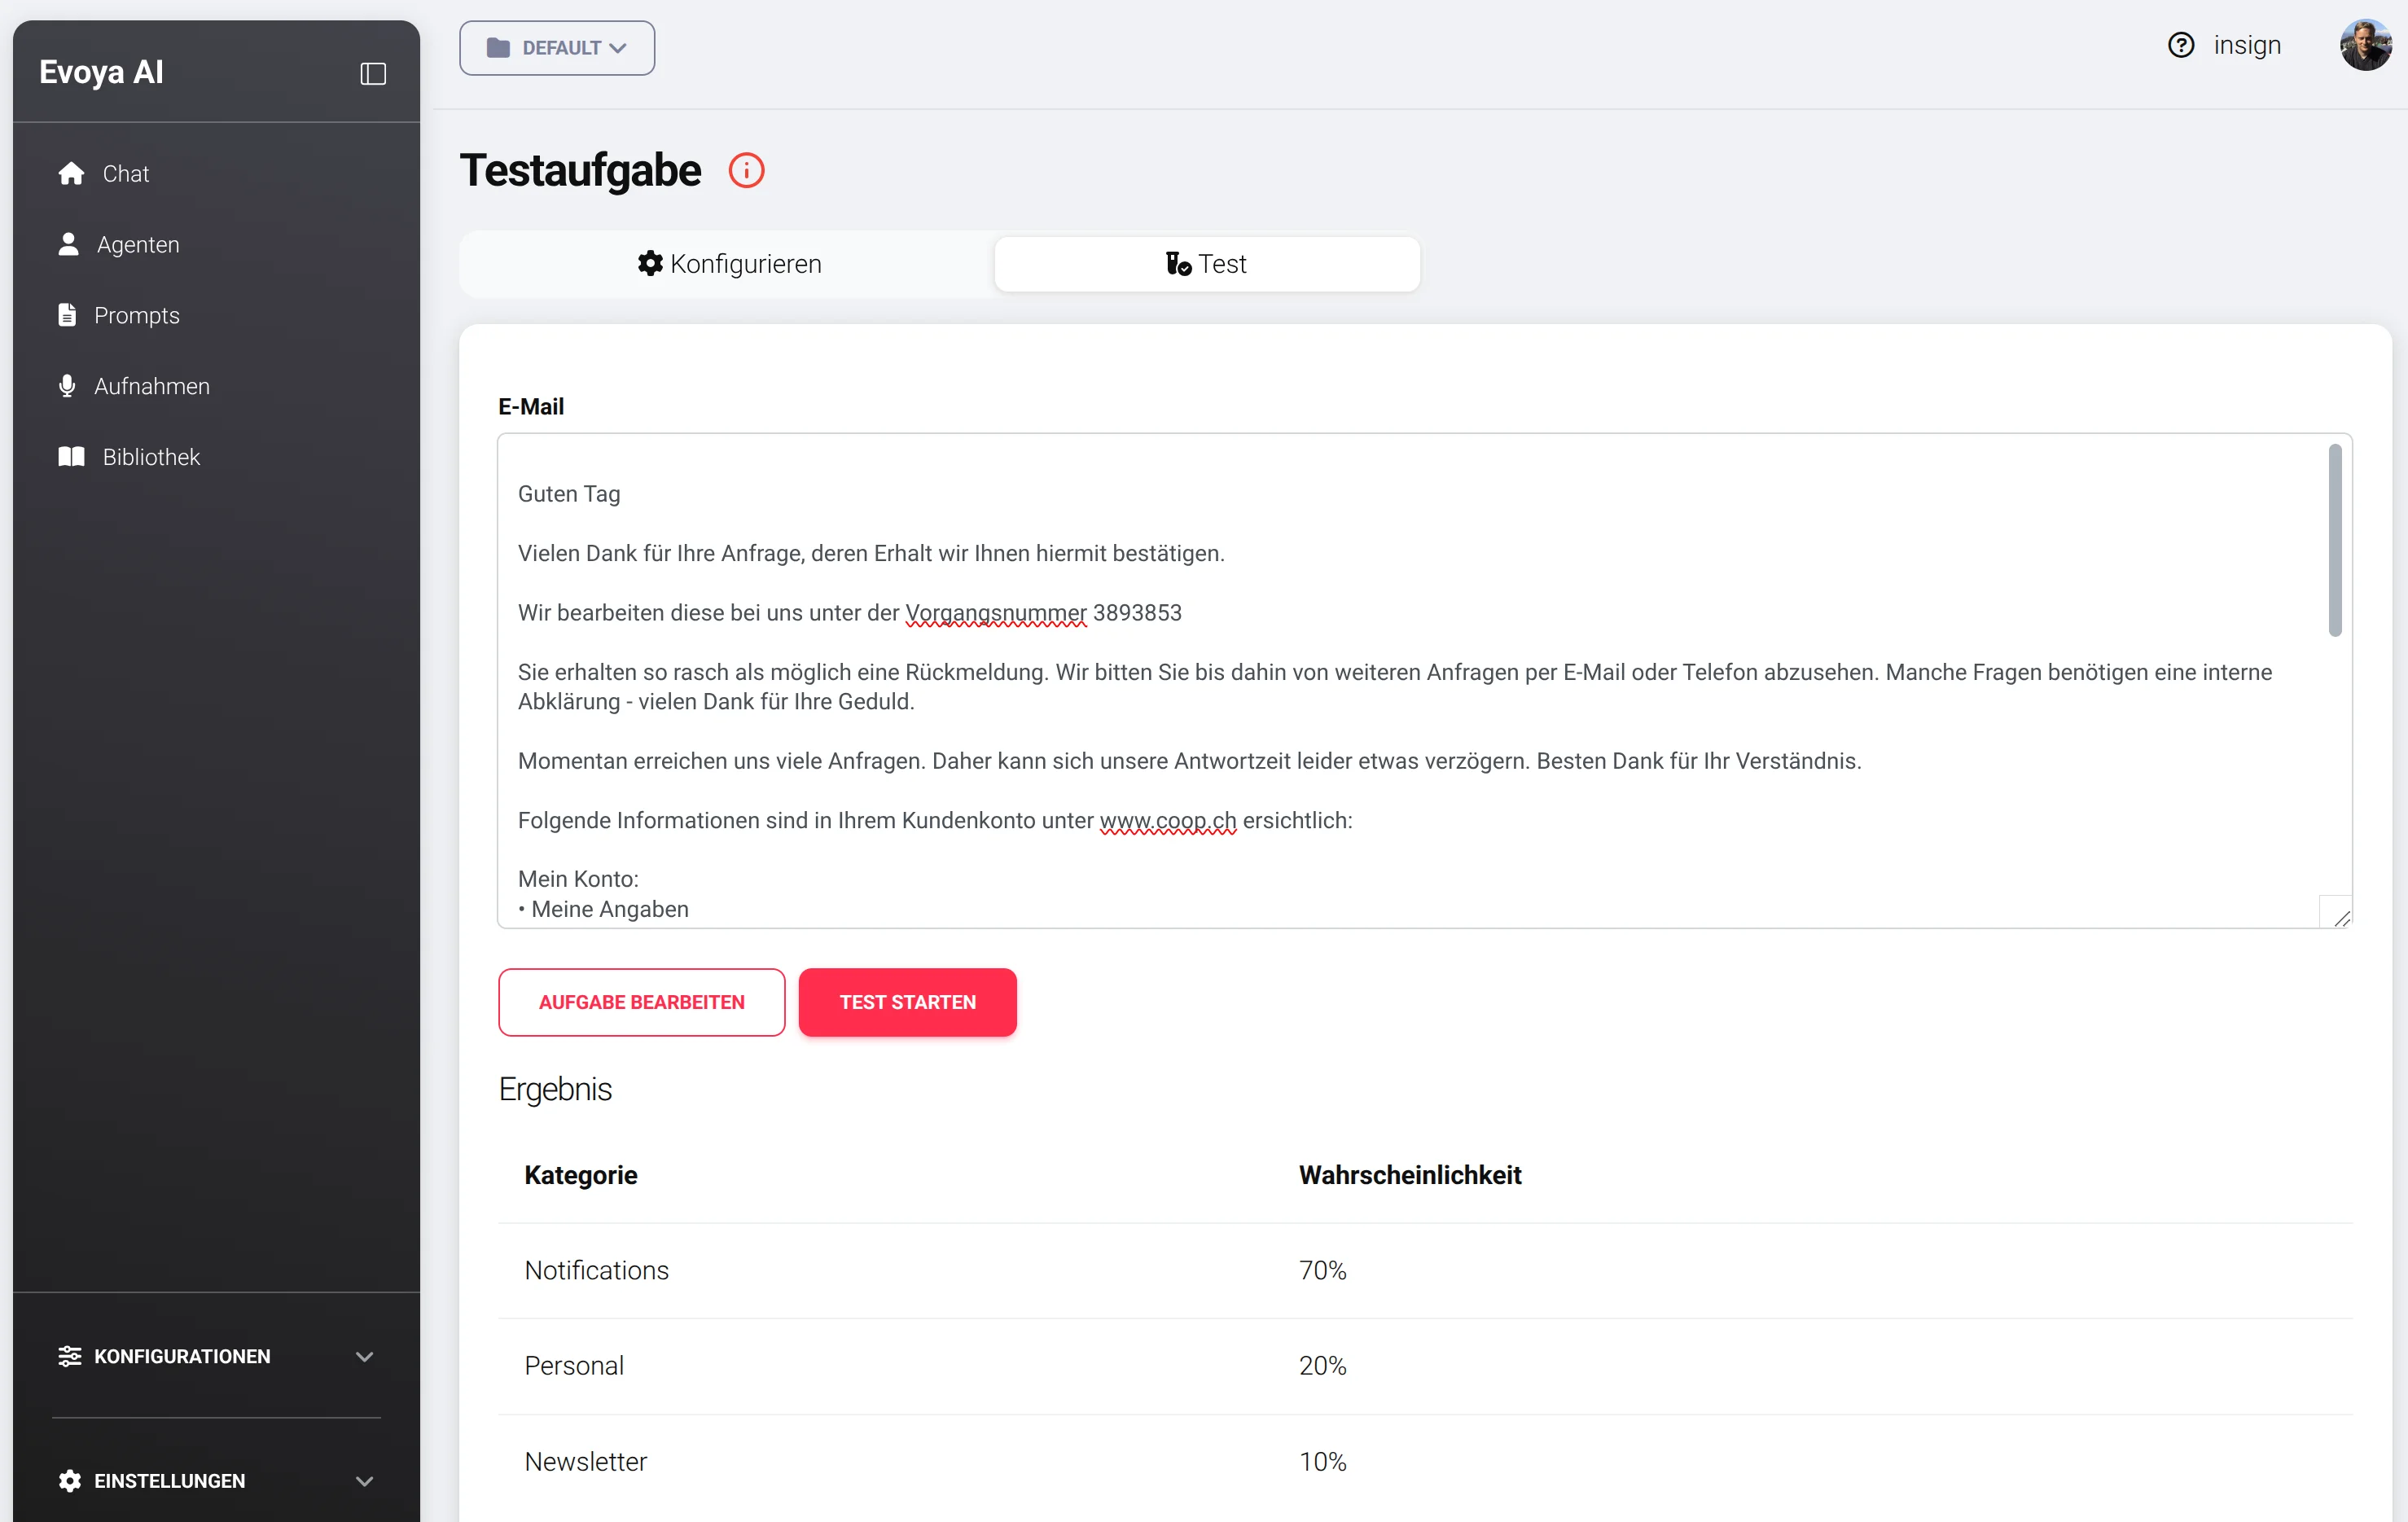
If the categorization doesn't fit yet, go back to "Edit task", adjust the category descriptions accordingly, and test again.
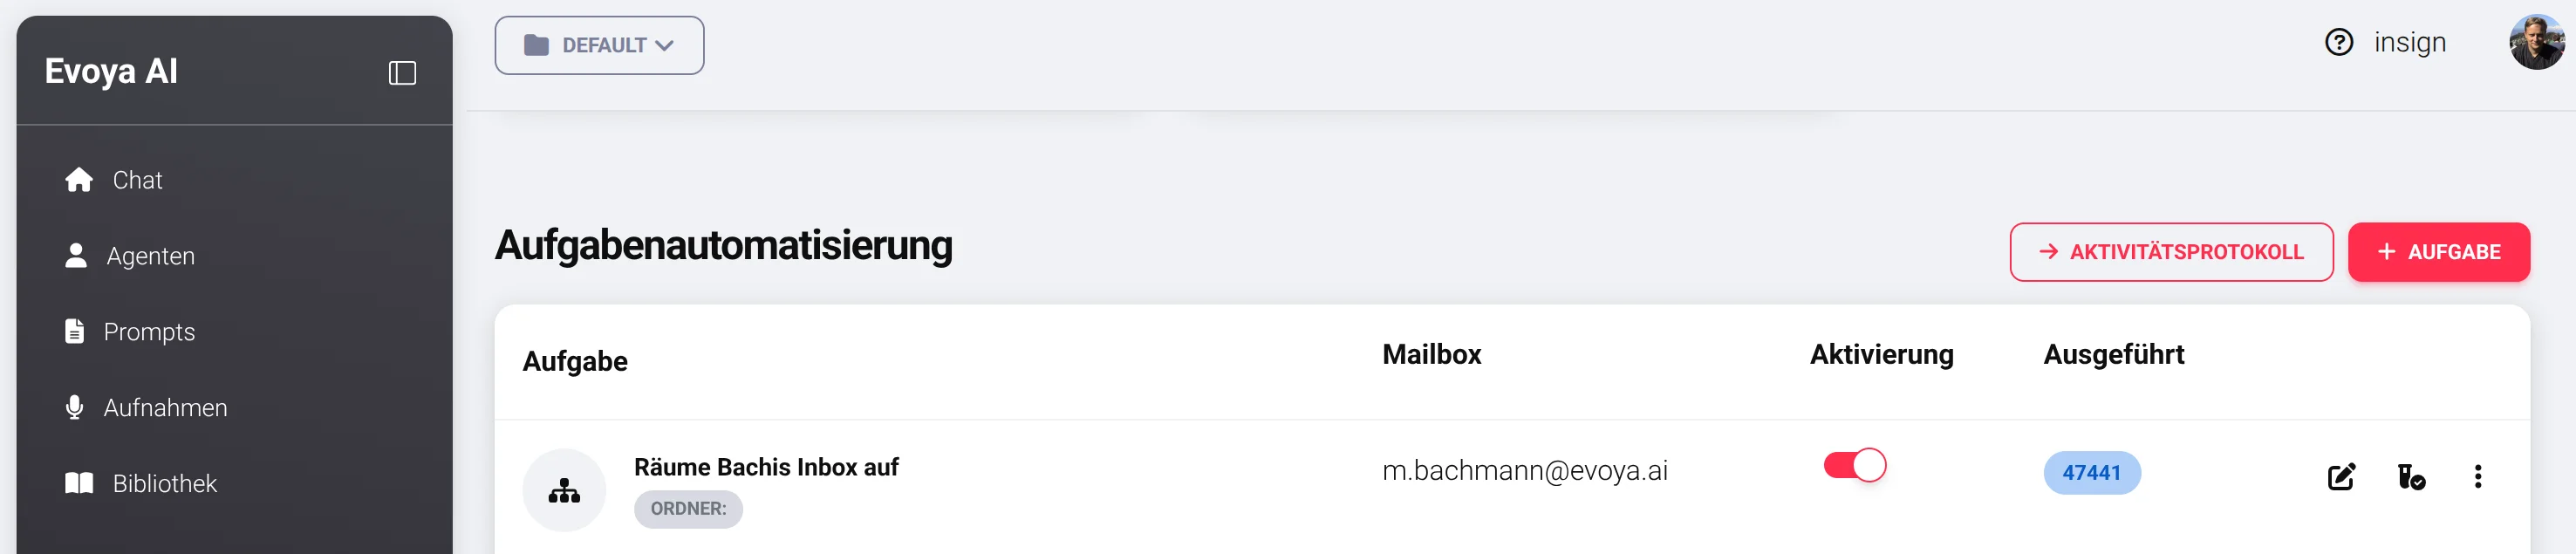
Step 4: Activate Task
After that, you just need to activate the task for your chosen mailbox. Congratulations – from now on, Evoya takes over and tirelessly cleans up your mailbox, day and night.
Logs and Monitoring
In the Log, you can track and review the email tasks executed by Evoya at any time.
Conclusion: Finally an Organized Inbox
Congratulations! Your emails are now sorted by Evoya just like mine. And we both enjoy an organized inbox together.
This automatic categorization is just the beginning. In upcoming blog posts, I'll show you how to use Evoya for responding to, analyzing, and processing emails as well.
Related Articles
Also interesting: How to Teach Evoya Agents to Send Emails